Xentry | Passthru Vmware
Create a new VM and install as the guest OS.
The installation of the software requires strict adherence to "crack" or "fix" procedures because the software checks for licensing authorization remotely.
If you are currently setting up your virtual machine, let me know: Which are you planning to use? What version year of XENTRY are you installing?
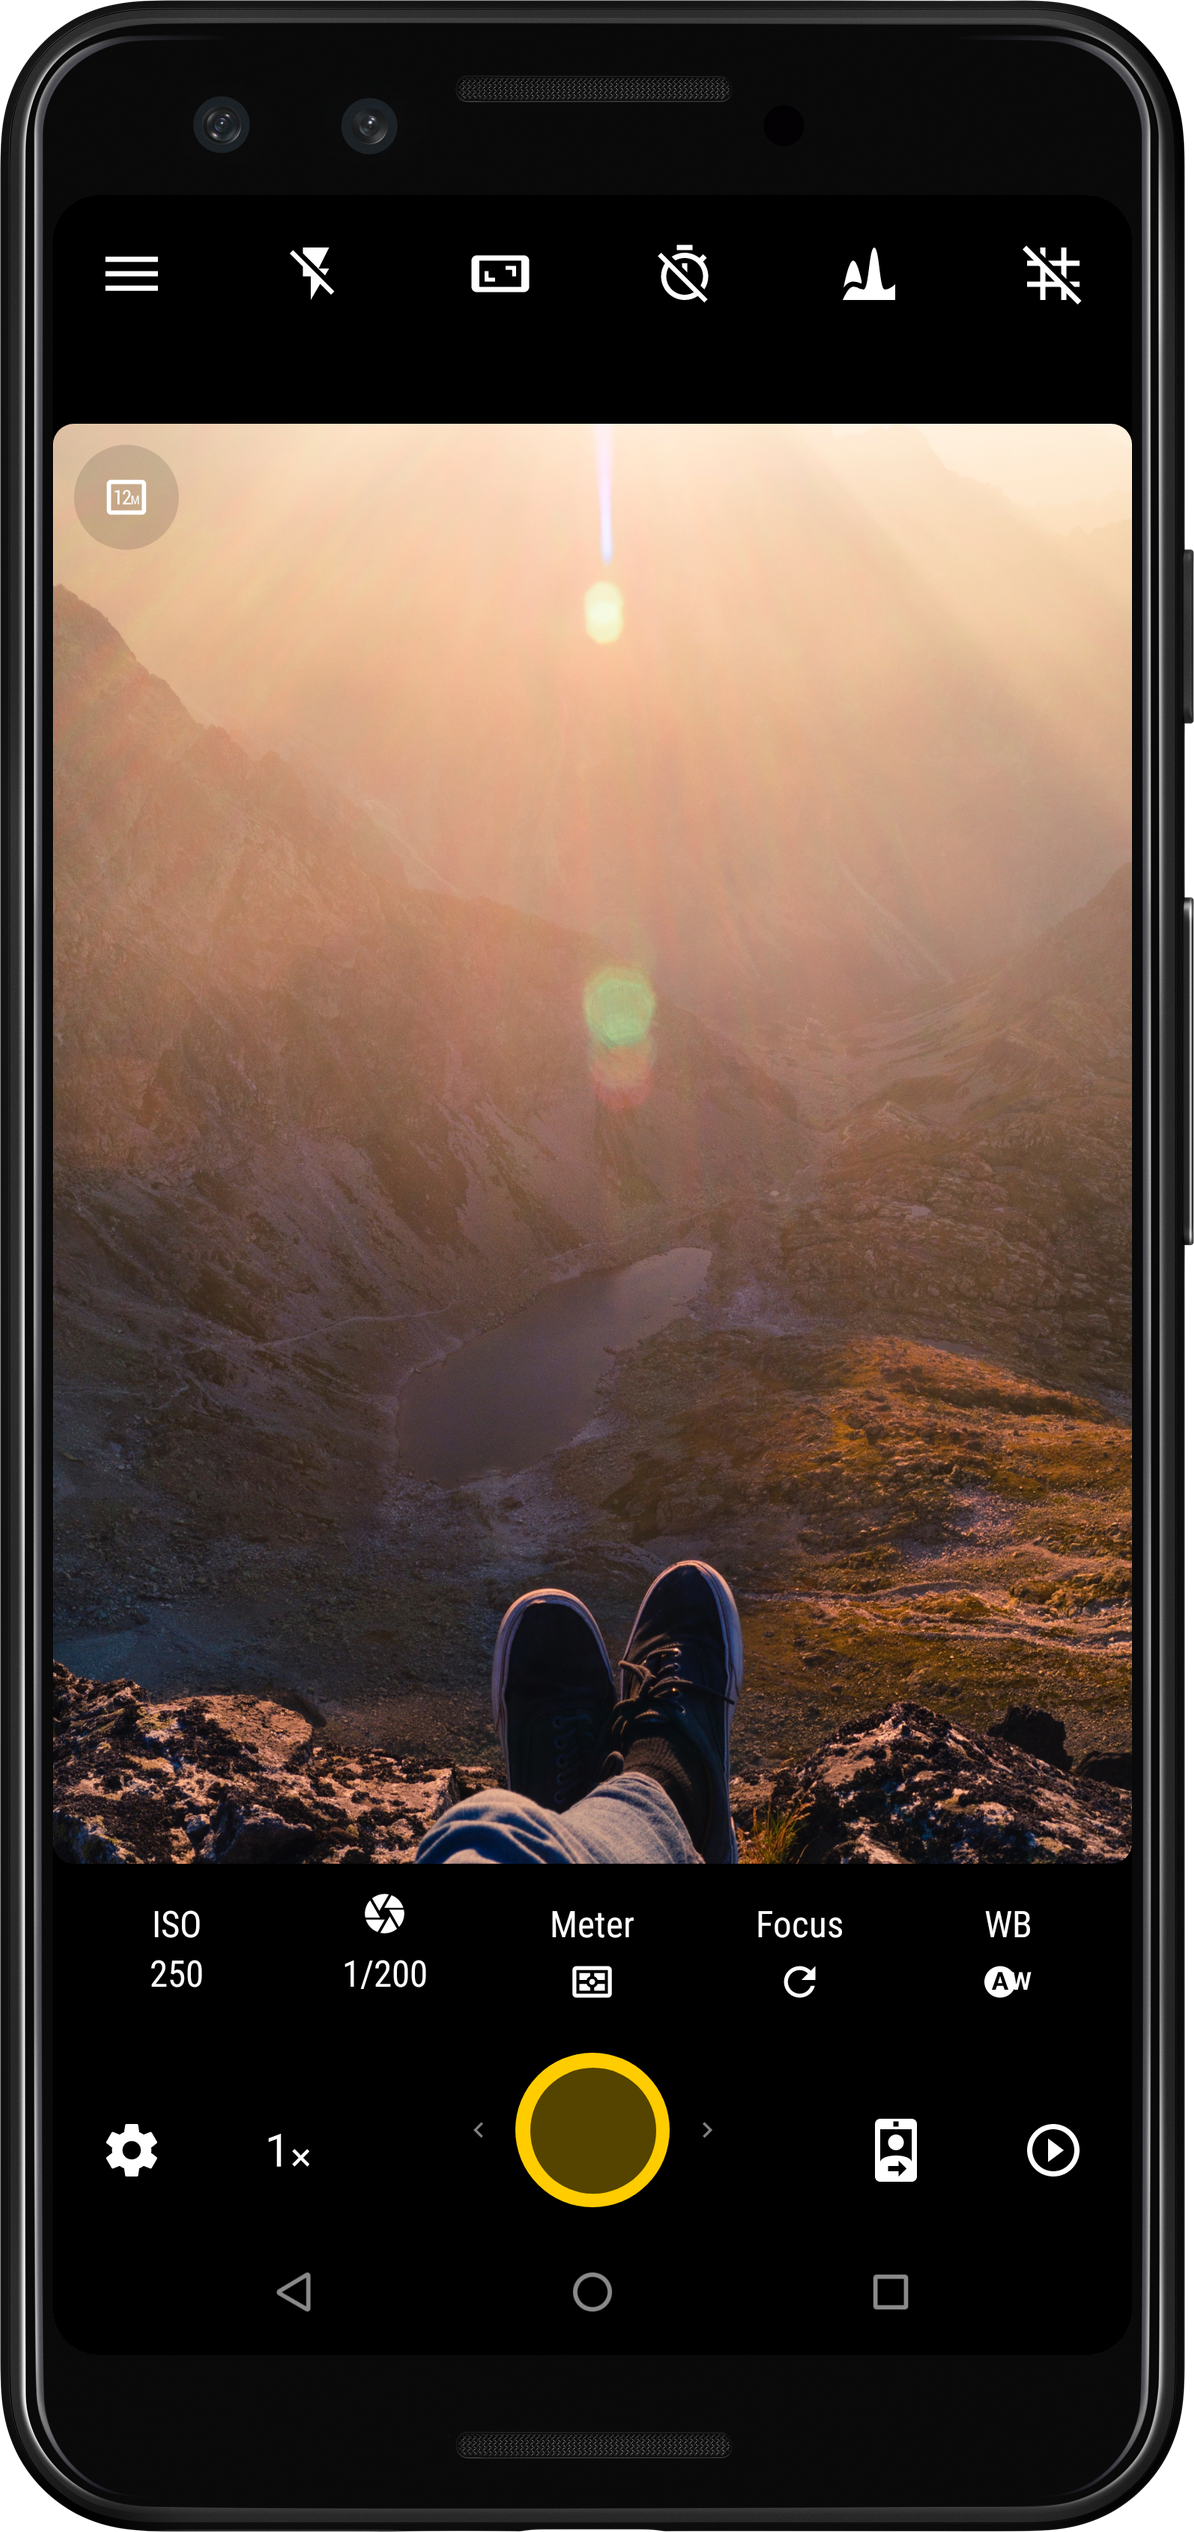
A premium option for professional shops requiring advanced programming capabilities. Step-by-Step Installation Guide Step 1: Virtual Machine Creation and Provisioning Launch VMware and select Create a New Virtual Machine . xentry passthru vmware
: XENTRY Pass Thru is designed for Windows; ensure your guest OS is a supported version (typically Windows 10 or 11 for modern versions). 2. Installation & Configuration
By taking the time to carefully configure your XENTRY Passthru environment inside VMware, you gain a professional-grade automotive diagnostic station that is highly stable, entirely portable, and completely safe from host system updates. If you are currently setting up your machine, let me know:
Once your XENTRY Passthru is perfectly activated and communicating with a vehicle, shut down the VM and take a snapshot named "Fully Functional Base". Never delete this snapshot. Create a new VM and install as the guest OS
Xentry, in its legitimate form, is notoriously sensitive to hardware changes. The software binds itself to the unique serial numbers of the hard drive, network card, and motherboard. When running inside a standard VMware virtual machine, the guest operating system sees virtualized hardware (e.g., an Intel E1000 network card) rather than physical hardware. This virtual layer typically breaks the licensing handshake with the Passthru device (such as the Openport 2.0, Tactrix, or genuine SDconnect).
: Install VMware Tools immediately after booting into Windows to ensure proper graphics driver acceleration and clipboard sharing. Step 2: Configure USB Pass-Through Settings
The installation process can take anywhere from 45 minutes to 2 hours depending on your SSD speed. Allow it to finish completely and restart the VM when prompted. Step 5: Run ConfigAssist and Map the Hardware What version year of XENTRY are you installing
Solid State Drive (SSD) is mandatory. XENTRY relies on massive local databases. Allocation requires at least 150 GB to 200 GB of free space.
This 2,500+ word guide will walk you through every aspect—from understanding the core concepts to troubleshooting common errors like "No communication with multiplexer."
Over time, virtual disks expand. Use VMware's built-in cleanup tools ( VM Settings -> Hard Disk -> Utilities -> Compact ) to reclaim unused space on your host SSD.
Set to NAT or Bridged (required temporarily for downloading prerequisites; disable later for system stability).